01 Hang & fasten
Board up, seams tight.
Sheets hung to break joints, screws set just below the paper, outside corners beaded.
Drywall
Hanging, taping and mudding, patches, and smooth-wall skim coats for walls that face windows or wear dark paint.
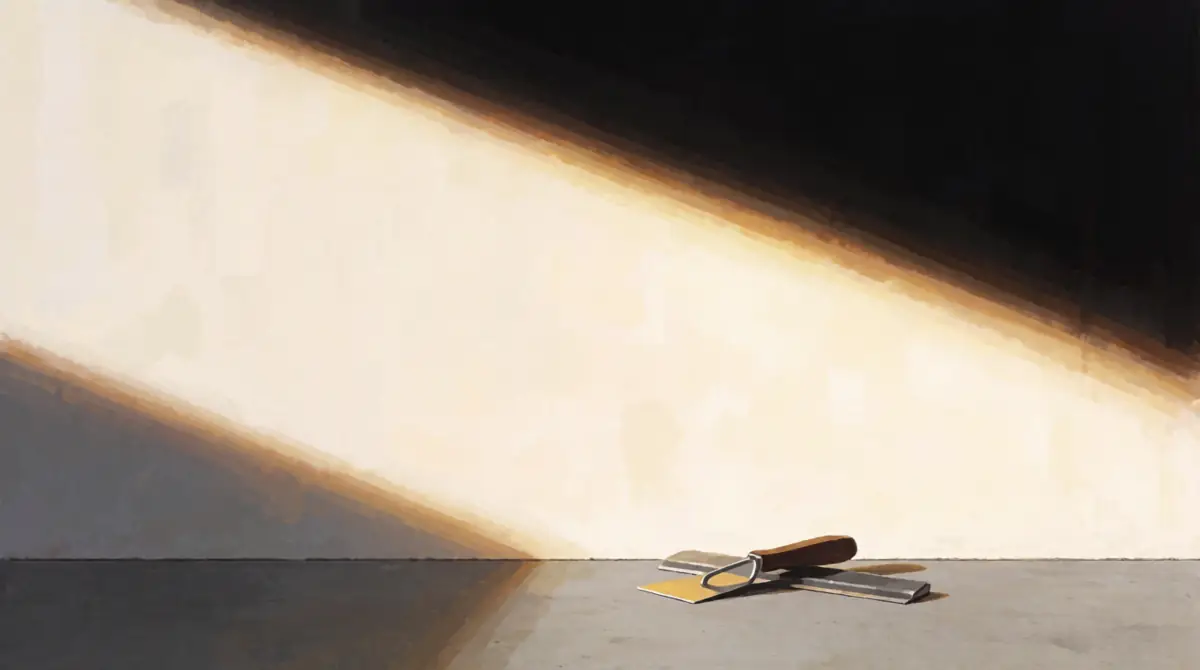
From board to smooth walls
01 Hang & fasten
Sheets hung to break joints, screws set just below the paper, outside corners beaded.
02 Tape coat
Every seam and inside corner gets tape pressed into compound. Quick-setting compound prefills the gaps and butt joints first.
03 Fill & finish coats
A fill coat, then a finish coat, each one wider and thinner, feathered until the joint disappears. That’s the standard finish for most homes.
04 Skim coat
For dark paint, sheen or big windows, the whole wall is skimmed so paper and mud take paint the same way.
05 Prime & raking light
Sanded with dust control, primed with a drywall primer, then inspected with a work light held flat to the wall.
Scope
Not included: framing changes, insulation or vapour barrier, electrical, popcorn-ceiling removal in pre-1990 homes without an asbestos test, mould remediation.
Proof
A basement taken from framing to boarded, ready for tape and mud.
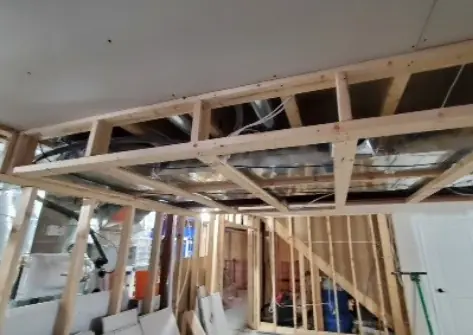
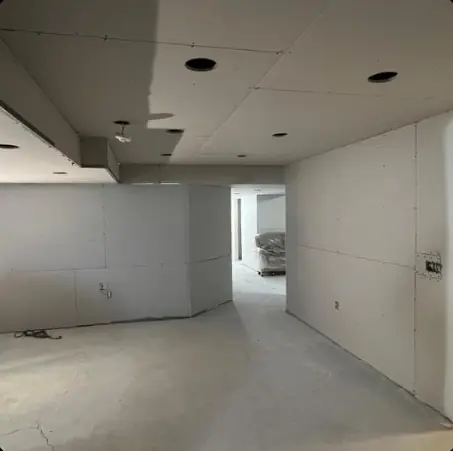
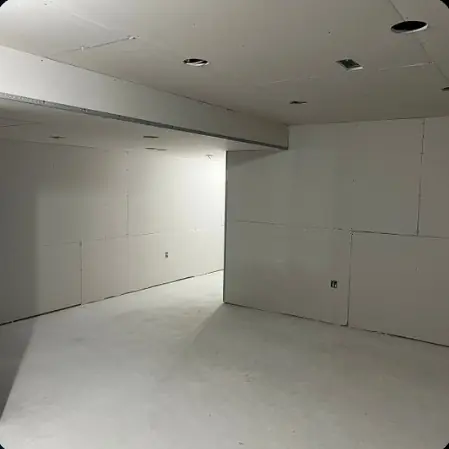
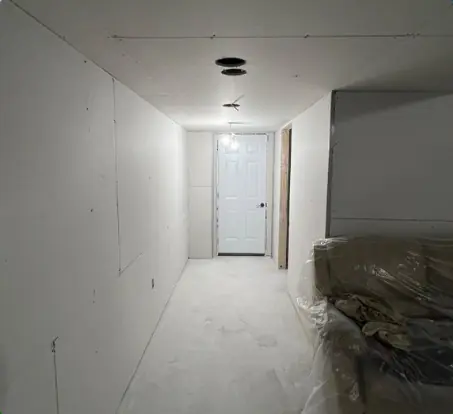
A low-light photo of a finished smooth wall is coming. Until then, the top image is an illustration of what it looks like.
Read client reviews on Google and Facebook.
Every space is different, so pricing comes after a free walkthrough.
Process & timeline
Pick a time that suits you, or call or text. A short note about the space is plenty.
2 minutes
Light, paint plans, finish level, access, dust plan.
20–30 minutes
Square footage, level of finish, products and dates.
Within a few days
Tape, fill, finish, skim if needed, with drying time between coats.
Patch 1–2 visits · basement 1–2 weeks
Inspected with a work light, primed, ready to paint.
Last day
Care & warranty
2-year workmanship warranty: if peeling, cracking at joints or seams showing from our work turn up within two years of completion, we come back and fix it. It doesn’t cover damage, moisture or structural problems, or normal wear. Your written quote spells out exactly what’s covered.
It’s the smoothest finish in the drywall industry standard: normal taping and three coats, plus a thin skim coat over the entire surface. It makes the wall take paint evenly so seams don’t show in side light.
Usually only where it shows: walls facing big windows, long halls, ceilings with low side light, dark colours, or any paint shinier than a low shine. Most rooms with paint that has little or no shine look great with the standard three-coat finish.
Every space is different, so pricing comes after a free walkthrough. The size of the repair, how much board work is needed and whether you add a smooth-wall skim coat all shape it. You get a written quote after the walkthrough.
Each coat has to dry, usually about a day for ready-mixed compound, longer in a damp basement. A patch takes one or two visits. A basement takes about 1–2 weeks of finishing.
Some, but it stays contained. Plastic walls go up around the work, sanding is kept light with dust control, and everything is cleaned up daily.
Usually the finish level, sanding or primer, not the paint. In side light, paper and compound take paint differently. A skim coat and a proper drywall primer fix it.
Paper tape for most seams and all inside corners, because it’s the strongest. Mesh only with setting-type compound on flat joints and patches.
Texture can usually be matched closely, and we test a patch first. In homes built before 1990, popcorn ceilings should be tested for asbestos before anyone scrapes them.
Yes. Drywall and paint by the same person means the primer, sheen and lighting are planned together.
Yes, a 2-year workmanship warranty. If peeling, cracking at joints or seams showing from our work turn up within two years of completion, we come back and fix it. It doesn’t cover damage, moisture or structural problems, or normal wear. Your written quote spells out exactly what’s covered.
Book a walkthrough
Coffee, a video call, or a visit. Then a written quote.
Levels of finish
Drywall finishing follows an industry standard with set levels of finish (the trade names are in the glossary below). The level depends on where the wall is, how it’s lit and what paint goes on it.
Board hung, tape set. Attics, above ceilings, service areas.
Tape plus one coat. Fine where looks don’t matter.
Two coats. The texture hides the rest.
Three coats, feathered. Right for paint with little or no shine in normal light.
Three coats plus 1-2 skim coats over the whole wall. For shinier paint, deep colours and big windows.
If a wall faces a window, a long hallway or a pot light, or you want a deep colour or a sheen, a smooth-wall skim coat is usually worth it. How sheen affects this →
How the space helps
Walls that look the same at noon as they do at sunset. Nothing catches the eye.
A space downstairs that feels like part of the home, not a storage room.
Dark, moody walls that look rich instead of showing every seam.
That hole behind the door, finally gone, and painted to match.
While we work, we practice Dissolve: nothing carried into the space but care. About the practice
Glossary
The words you may see in your quote.
The industry standards for drywall finish levels and how board is hung and finished.
The lower finish levels: Level 0–1 is board hung and tape set (out of sight), Level 2 is tape plus one coat (garages, under tile), Level 3 is two coats (under heavy texture).
Joints taped and given three coats, plus screws and beads. The normal finish for flat paint in normal light.
The trade name for a smooth-wall finish: Level 4 plus a thin skim coat over the whole wall, so it takes paint evenly in strong side light.
Paint sheen names: flat has no shine, eggshell a low shine. Anything shinier (satin, semi-gloss, gloss) shows more of the wall underneath.
Strong, low-angle light from windows or fixtures that skims across a wall and shows every ridge.
The three passes at each joint: bed the tape, fill wider, then feather wide and smooth.
A thin layer of compound troweled or rolled over a whole wall, then smoothed.
Setting-type compound mixed from powder. It hardens by chemical set (20–90 min). Used for prefill, patches and mesh tape.
Ready-mixed compounds. All-purpose beds tape; topping is softer and sands smoother for the last coats.
Paper is strongest and used for corners and most seams. Mesh goes only with hot mud on flat joints.
Metal or paper-faced trim that makes outside corners straight and tough.
Factory edges are tapered so mud sits flush. Cut ends (butt joints) aren’t, so they’re feathered extra wide.
Thinning the edge of each coat so there’s no hump you can see or feel.
A fastener pushing through the finish. It’s reset and recoated.
A drywall primer that seals paper and compound evenly, so paint doesn’t look patchy.
Vacuum sanding, plastic walls and daily clean-up to keep dust in the work area.
Often paired with
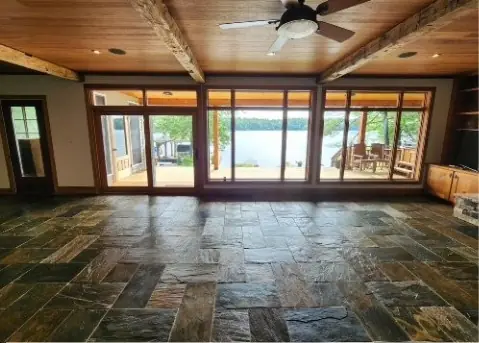 Interior paintingWalls, ceilings, trim, doors and stairs. Careful prep, clean lines, two finish coats.Details
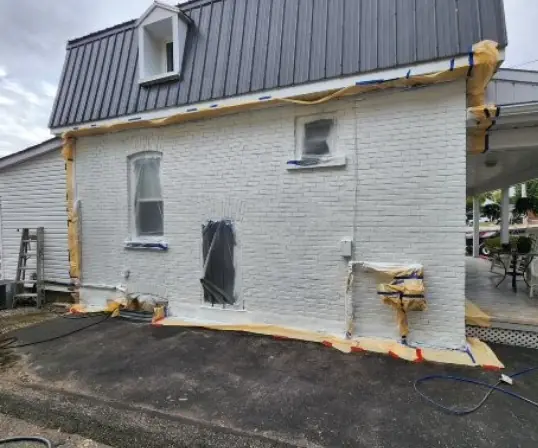 Exterior painting & stainingSiding, brick, trim, soffit and fascia, doors, decks and cabins. May to October.Details
 Illustration
Fall exterior caulkingWindows, doors and siding joints sealed before the freeze.Details
Illustration
Fall exterior caulkingWindows, doors and siding joints sealed before the freeze.Details
Where we work
Serving Simcoe County, York Region and the Grey Highlands. See the map.